


When you’re getting started in astrophotography, one of the most exciting celestial events that you can capture is a meteor shower. Photographing the fleeting beauty of a meteor shower can be awe-inspiring and a very rewarding experience, but it does require some degree of preparation, the right equipment and a bit of creative flair to get the most out of your images.
Meteor showers can be exciting and awe-inspiring celestial events, and capturing them on camera well requires a blend of technical skill, patience, and a certain degree of creativity. By carefully selecting the right meteor shower, preparing your equipment and your camera settings and employing creative techniques, you can produce stunning images quite quickly after a little practice. Moon phases not lining up and the weather getting in the way can sometimes test your patience, but immortalizing these fleeting moments will be worth it!
- The next visible meteor shower above the Northern Hemisphere is the Lyrids, peaking on April 21-22.
Equipment
The good thing about getting started photographing meteor showers is that you don’t need the most expensive gear to capture a great shot, but certain equipment will certainly improve your chances of capturing stunning shots.
DSLR or mirrorless cameras
These provide full manual control, essential for long exposures. Some high-end advanced compact camera models such as the Nikon Zfc also offer manual settings and good low-light performance. The very best astrophotography cameras even have dedicated astro features and settings.
Which lenses?
Using a wide-angle lens (14mm to 24mm) captures more of the sky, increasing the chances of photographing multiple meteors. You’ll be wanting to look at a fast aperture (f/2.8 or lower) to ensure more light hits the sensor, which is a must for low-light environments.
Tripod and other equipment
A sturdy tripod is non-negotiable for long exposures. Any movement will result in blurred images. We’d also recommend using a remote shutter release or intervalometer, which reduces vibrations when pressing the shutter and enables continuous shooting over long periods.
Take extra memory cards and fully charged batteries with you, as long-exposure photography consumes both quickly and in cold environments, battery performance can be degraded. One of the best power banks can help keep your gear going for longer. It’s also worth packing a headlamp with a red light, which is essential for navigating in the dark without ruining your night vision. It’s optional, but a dew heater or lens warmer can also prevent condensation on your lens during cold nights.


Sigma ART 14mm F1.8 DG HSM
Astrophotography requires a wide-angle lens with a fast aperture, like the Sigma ART 14mm F1.8 DG HSM.

Camera settings
Capturing meteors involves long exposures and low-light settings. It starts with putting your camera in manual mode, which gives you complete control over exposure, aperture and focus.
Start with 20-30 seconds of exposure and use the 500 rule to calculate maximum exposure time without star trails: divide 500 by the focal length of your lens and round down to the nearest full number. Use the widest aperture (f/2.8 or lower) available to gather as much light as possible, and start with an ISO setting as low as you think you can get away with, depending on your camera body – ISO 1600 is a good starting point, and you can always ramp up from there and adjust it depending on how grainy your images come out. Choosing an ISO is a bit more of an art than a science.
Turn off image stabilization (IS/VR) if your lens has it, especially when using a tripod. Also make sure you shoot in RAW mode, as this maximizes your ability to adjust exposure and color balance during editing, which is vital for achieving the right tonality and color grade in astrophotography.
Photography Techniques
Image 1 of 4

Once you’ve got a good grip on the technical aspects, you’ll feel like it’s time to get creative. Here are some thoughts on how you might achieve a different look to your meteor shower photography.
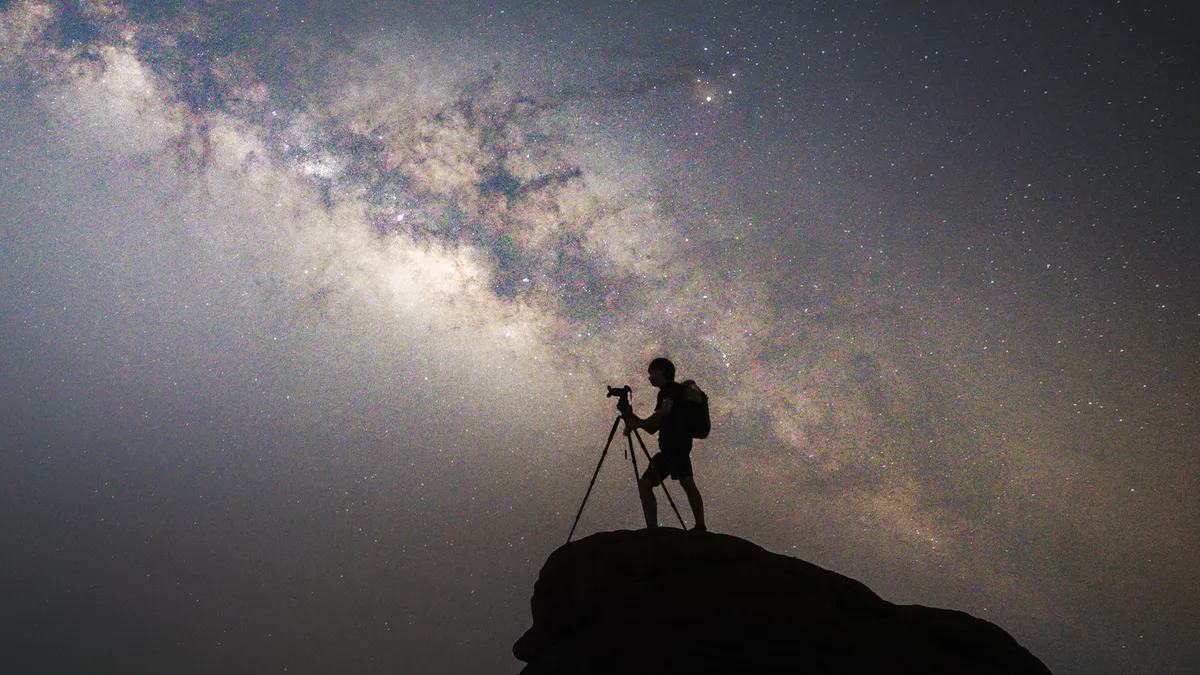
Include foreground elements
Adding foreground elements can provide context and make your images more visually compelling. Silhouettes of trees or mountains can create a dramatic contrast against the night sky, and man-made structures like bridges, lighthouses or abandoned buildings can add a unique perspective and a sense of drama.
Time-lapse and star trails
You can create dynamic sequences by combining multiple shots. If you shoot hundreds of images you can compile them into a time-lapse in the edit, showing meteors streaking across the sky. Stack multiple exposures together over the course of the night to create circular star trails while highlighting meteors separately. You can also use a headlamp to illuminate foreground objects during long exposures. We loved using the Live Composite feature to create star trails during our OM System OM-1 Mark II review.
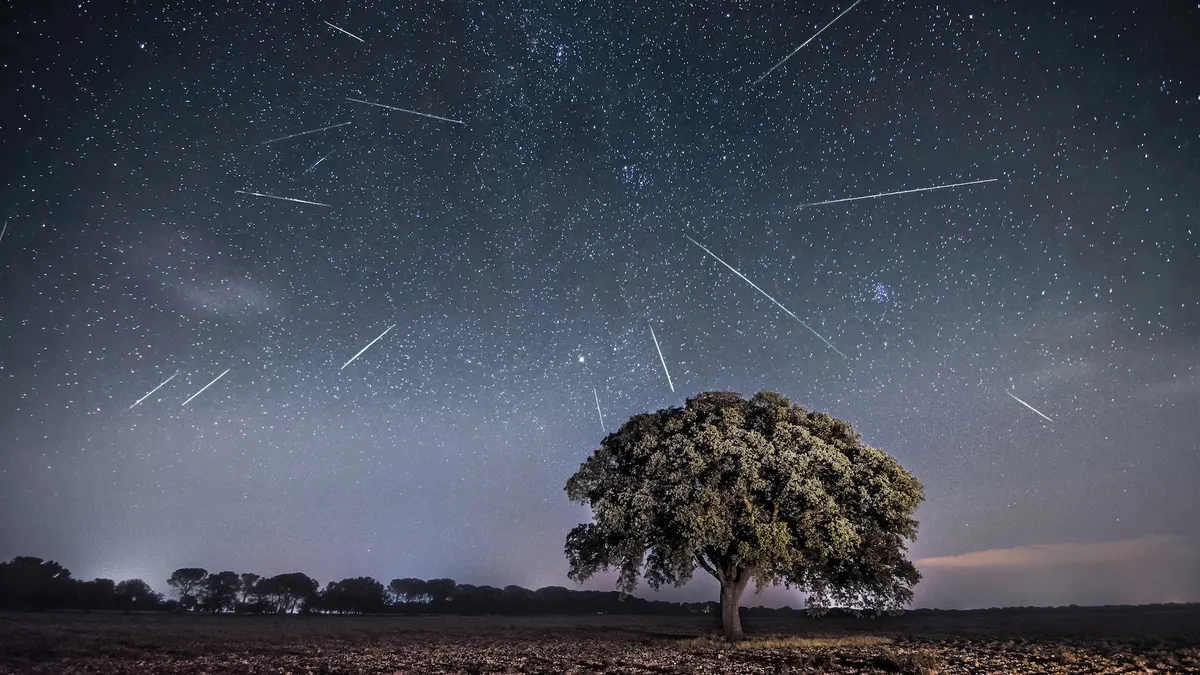
Composite images
Meteor showers can be unpredictable, and a single frame may not capture multiple meteors. Combine several images taken over the night to showcase more meteors in one composition.
Reflections
If you’re near very still water, you can often capture meteors reflecting off water bodies like lakes. This might take a bit of experimentation, and you’ll need a fast lens and a camera body that can cope well with high ISO settings.
Capturing fireballs
Occasionally, meteor showers produce exceptionally bright meteors called fireballs. These can light up the sky and cast shadows, offering dramatic photography opportunities. You’ll need to be quick, though, and adjust your exposure rapidly if a fireball appears.
Panoramic shots
Capture a broader view of the night sky by stitching multiple wide-angle shots together. This technique can showcase the vastness of the sky during a meteor shower.
Post processing
When it comes to getting the most out of your astrophotography, it’s worth learning about the ins and outs of editing and post-processing, as mastering these skills will help you produce photographs you can be proud of.
Use software like Adobe Lightroom or Photoshop to reduce noise, especially for high ISO images. You can also adjust contrast and clarity to make meteors stand out and fine-tune the white balance and saturation for more vibrant skies. Use stacking software like StarStaX or Affinity Photo 2 to create seamless star trail images.
Which meteor shower should you photograph?

Luckily, meteor showers are among the most predictable celestial events each year, and we are able to track their appearances. In the northern hemisphere, we’re blessed with several prominent displays throughout the year. They occur when Earth’s orbit passes through the debris trail left by comets or, in some cases, asteroids. This debris, often no larger than grains of sand, burns up upon entering Earth’s atmosphere, creating bright streaks of light.
Research plays a pivotal role in photographing any meteor shower, so it’s best to do this well in advance of an expected shower — but perhaps not so far in advance that you aren’t able to access a reliable source of weather information, as this data is also crucial in determining what you’ll see and where you’ll travel to.
Look at information about the peak nights of the shower, which offer the best chance to capture numerous meteors. For each shower, these generally happen at the same time each year. You will also need to find dark sky locations and use light pollution maps like lightpollutionmap.info to locate the darkest skies near you.
It’s also important to check the moon phase. Aim for a new moon or minimal moonlight to maximize visibility.
Here are some of the things to consider when starting out taking images of meteor showers:
Intensity: The number of meteors you can see per hour, known as the zenithal hourly rate (ZHR).
Radiant point: The area in the sky from which the meteors appear to originate.
Moon phase: A bright moon can wash out faint meteors, so timing around a new moon is ideal.
Weather and light pollution: Clear skies and minimal light pollution are crucial.
Best meteor showers in the Northern Hemisphere
There is lots of information online about the most reliable meteor showers, and you can also find some excellent imagery for inspiration for your own photographs, but we’ve put the basic information below. Cold, crisp winter skies can be a really good time to capture images of meteor showers, providing the weather and conditions can offer a clear view of the night sky.
Quadrantids (January)
Known for its sharp peak that lasts a few hours, this is one of the strongest meteor showers of the year.
Peak: Around January 3-4
ZHR: 60-100 meteors per hour
Radiant: Near the constellation Boötes
Lyrids (April)
One of the oldest recorded showers, often with bright, fast meteors.
Peak: Around April 21-22
ZHR: 15-20 meteors per hour
Radiant: Near the constellation Lyra
Perseids (August)
Famous for their high frequency and bright meteors during warm summer nights.
Peak: Around August 11-13
ZHR: 50-100 meteors per hour
Radiant: Near the constellation Perseus
Orionids (October)
Known for their fast meteors and occasional fireballs.
Peak: Around October 20-22
ZHR: 15-25 meteors per hour
Radiant: Near the constellation Orion
Geminids (December)
One of the most reliable and prolific showers.
Peak: Around December 13-14
ZHR: 120-150 meteors per hour
Radiant: Near the constellation Gemini


